Tutorial:Beginner's Guide
This tutorial attempts to be a comprehensive beginner's guide that will take you through all that you need to begin your journey modding. By design, it can't cover ever facet of modding, and the author's knowledge will prevent him from covering every subtopic possible extensively. However, the primary attempt here is to equip someone brand new to modding - no experience in anything needed - with all the tools and skills they need to have a good level of understanding, and to have the ability to solve some problems on their own. A focus here is to "learn how to learn", and I will be providing methods and best practices everywhere that's possible.
This tutorial is written using Warhammer 2 as the example game, but all of the concepts and practices apply to every Total War game since Empire.
As a final note, I'll be making an effort to out-link to as many pages as possible, to provide deep dives into specific topics. There will be a lot glossed-over in this tutorial, intentionally - it's better to get into hands-on as soon as possible, instead of being bogged down by theory.
Being Bogged Down By Theory
Before we do anything at all, let's talk a little bit about mods - what they are, what they can do.
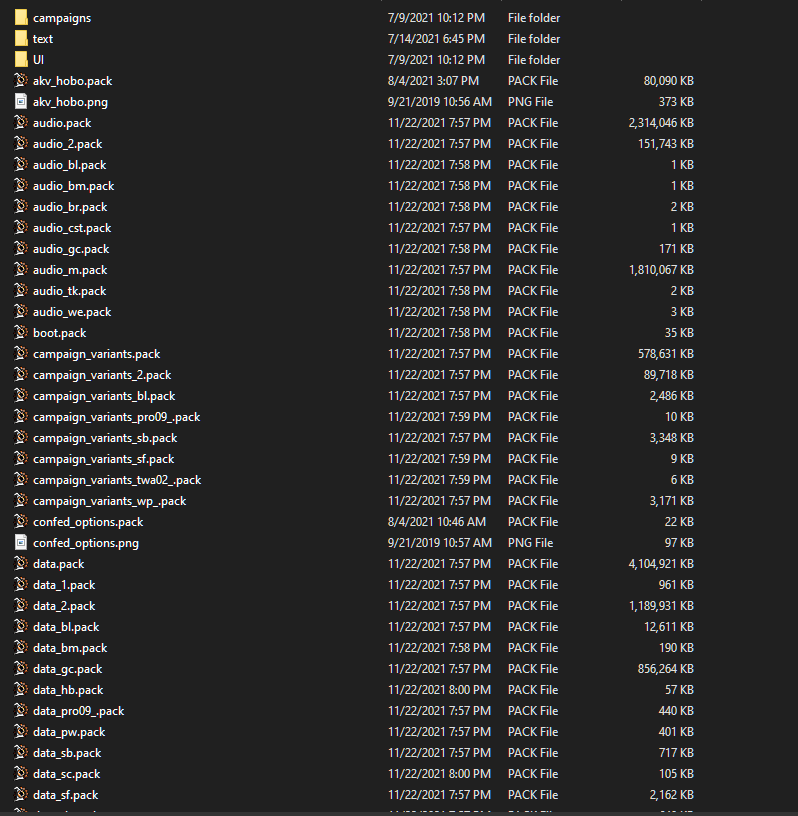
"Mod" is shorthand for "modification" - it's any thing that changes the game. Mods take many different forms in many different games, but for Total War they're a feature supported by Creative Assembly natively. Using a proprietary file called a pack file (heretofore called "packs"), you can load up files for the game to load and use in runtime.
Mod packs are functionally the exact same as Creative Assembly's pack files. A pack file is nothing more than a bunch of stuff packed inside of a single file, to compress data into a single structure.
As we talk, the words mod and pack can be considered interchangeable. "Mod" will be used when talking about the high concept and design of your creation; "pack" will be used when referring to the file structure.
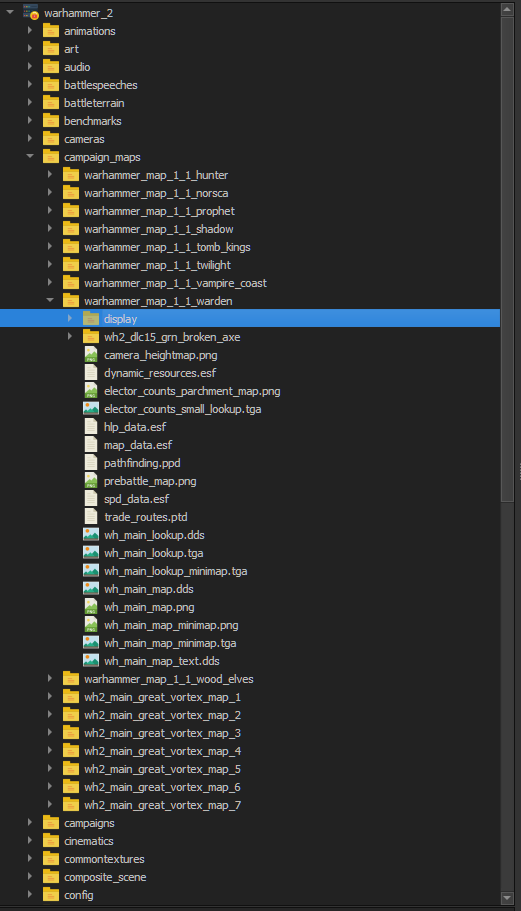
Packs can contain any file within them, and by default the game reads a lot of stuff through pack files. Namely, packs contain the models, textures, animations, and skeletons for all units; all UI images and files, like animations; all in-game, localised text; all in-game audio; and the database. Think of the database as a series of interconnected spreadsheets. Each spreadsheet is about a single "thing" - whether that thing is a Unit, or their Weapon, or their Mount, or the Building they are recruited from. and the spreadsheets themselves all have columns for information such as "weapon damage" or "unit speed" or "building cost". When the game is initially loaded, every part of the database is read, verified, and loaded: so when a modded pack introduces a new Unit through the database, the game will read that new set of files and create the unit within the next loaded campaign.
Tools & Prep
With that dull theory out of the way, let's get our hands dirty. First we have to install all of the necessary tools to get modding!
The Assembly Kit
The Assembly Kit (disparately known as "TWEAK", ie. Total War Engine Assembly Kit, or Asskit, or AK) is Creative Assembly's in-house tools for working with the game's data files. The AK is composed of several different parts:
- DaVE (Database Visual Editor): DaVE is a visual editor for editing the database previously mentioned. We'll look at it later.
- BoB (Build-on One Button): A program to export and create a .pack file from the data within the Assembly Kit.
- Terry (Terrain Editor): A battle map editor.
- Variant Editor (no cool name): A visual editor for units, to swap out their appearances between other in-game models.
You don't have to memorize all of this of course, but it's here as a reference!
Installation
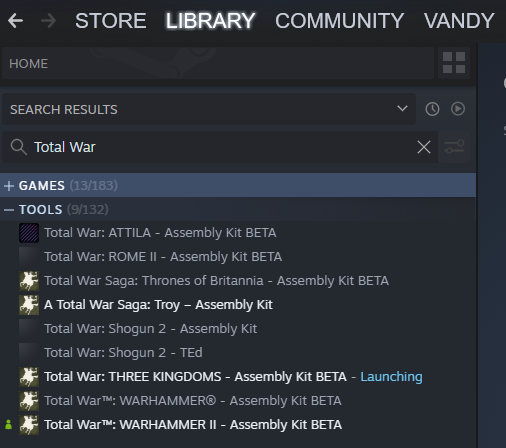
If you own the Total War game you're modding in Steam, go to Library -> Home.
You can filter in the Library section by "Total War". Select the AK for the game you're modding, choose "Install", and you now have it!
[ TODO EGS ]
Usage
Now, an important note about the Assembly Kit. It is absolutely vital for some types of modding - namely, battle map editing and making specific files (more on that later). But it doesn't interact with "pack" files, which are the backbone file of modding. When you upload to the Workshop / EGS, you are uploading a pack. The AK can't work with pack files, it just creates them, which makes versioning and updating and all a pain.
So primarily, the Assembly Kit is used for the specific things it can do, and for searching through vanilla data. When making a mod, you should use the ..........
Rusted Pack File Manager
RPFM is a community program made by Frodo45127, of GCCM fame. It is designed to work directly with pack files, and it is designed to suit all (or, most) of the needs a modder may have. You can install it here.
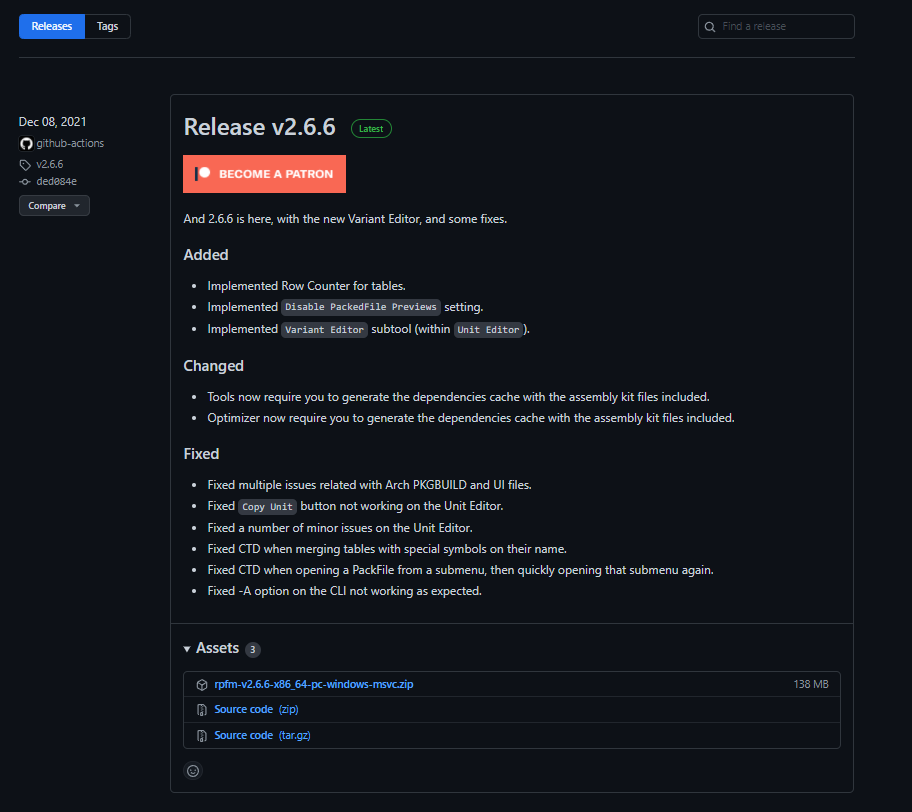
At the GitHub Releases page, scroll to the top release marked "Latest". Scroll down to "Assets", and click the top line - it will normally say rpfm-vX.X.X_x86-64-pc-windows-msvc.zip. Don't choose the Source Code unless you know what Source Code is and are intentionally trying to edit it.
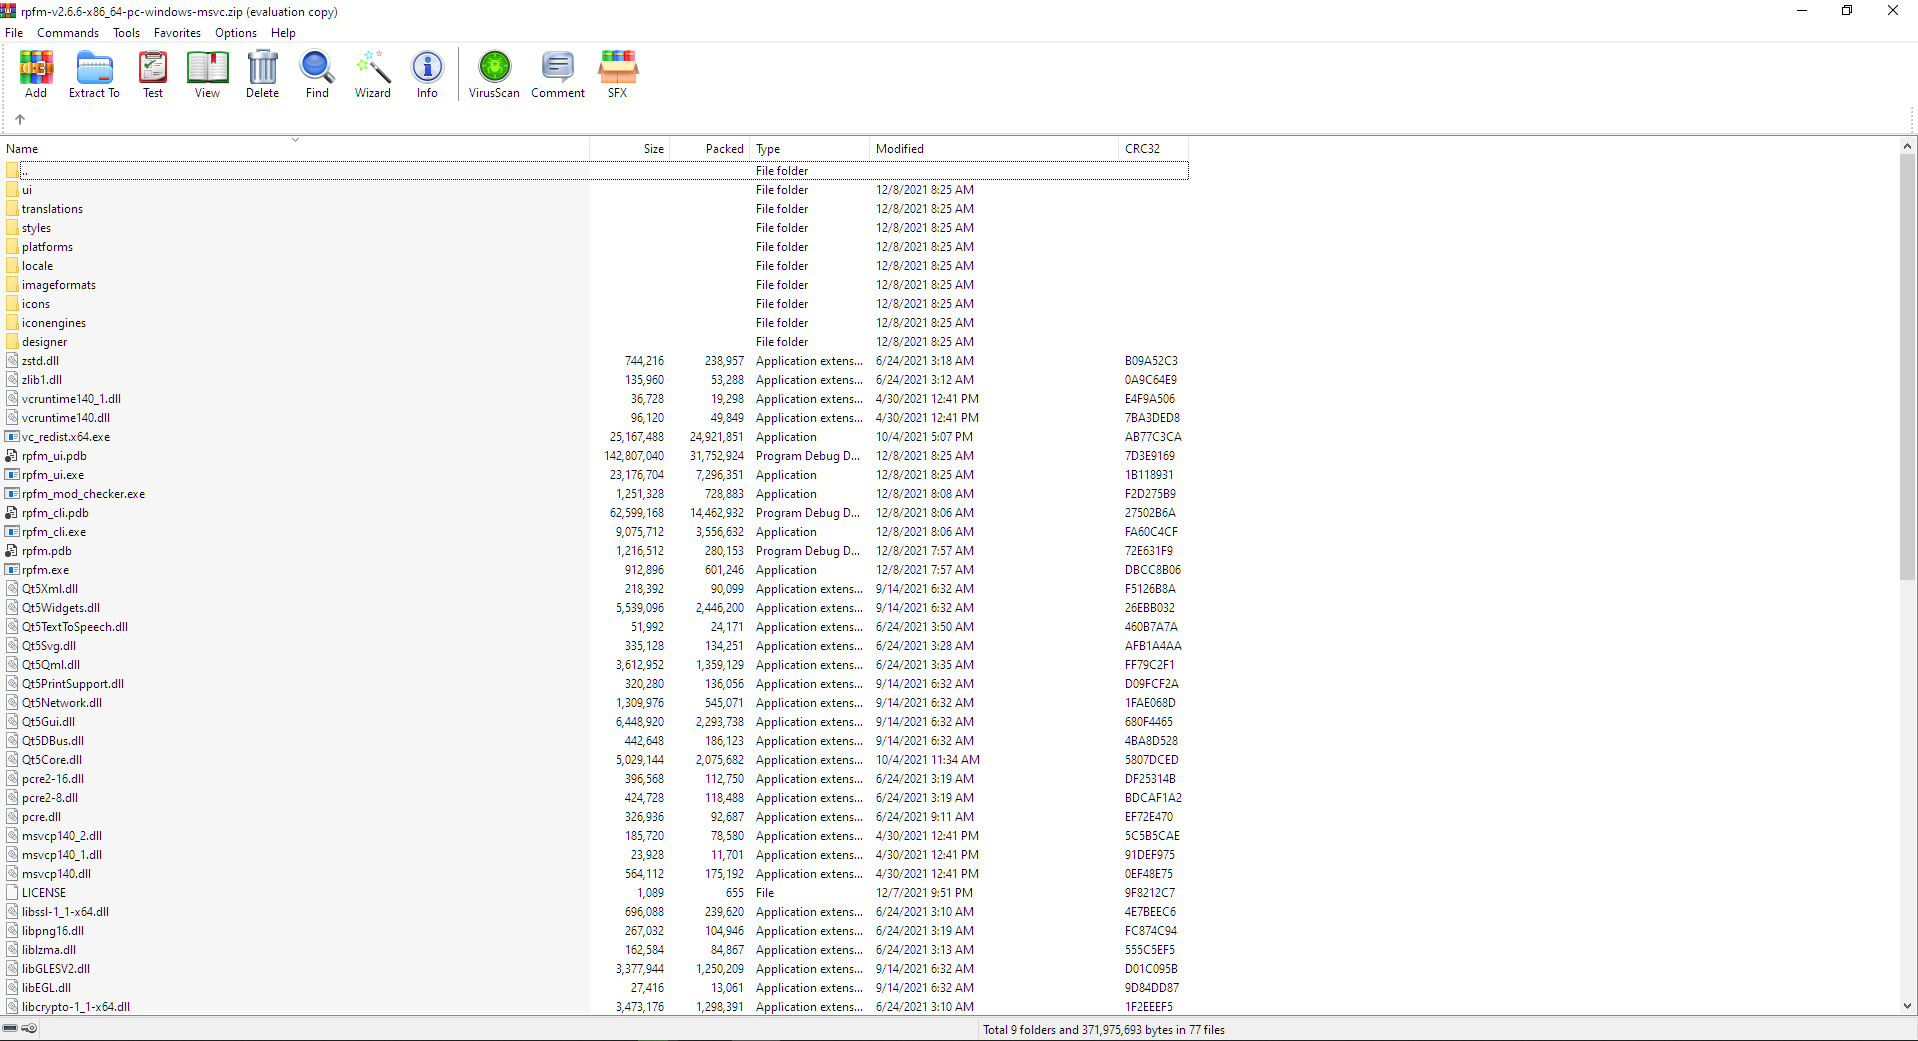
If you don't have it yet, you'll want to use 7-Zip or WinRar to extract the resulting file.
When you open up the .zip file in 7-Zip or WinRar (by double-clicking the file in your Downloads file), you'll see a page like above - don't fret, it's not much. Just press "Extract To", and in the dialogue box that pops up, create a new folder where you will store your mods. For me, this is S:/Modding/. After extracting the file, you should see a new folder: S:/Modding/RPFM/.
Let's do some first-time setup.
First-Time Setup
Go to the folder you just installed RPFM. Scroll all the way down to rpfm.exe. This is the file we use to open RPFM. Feel free to pin it on your taskbar, that's what I prefer to do.
After opening RPFM, the very first thing we're going to do is open the Preferences.
