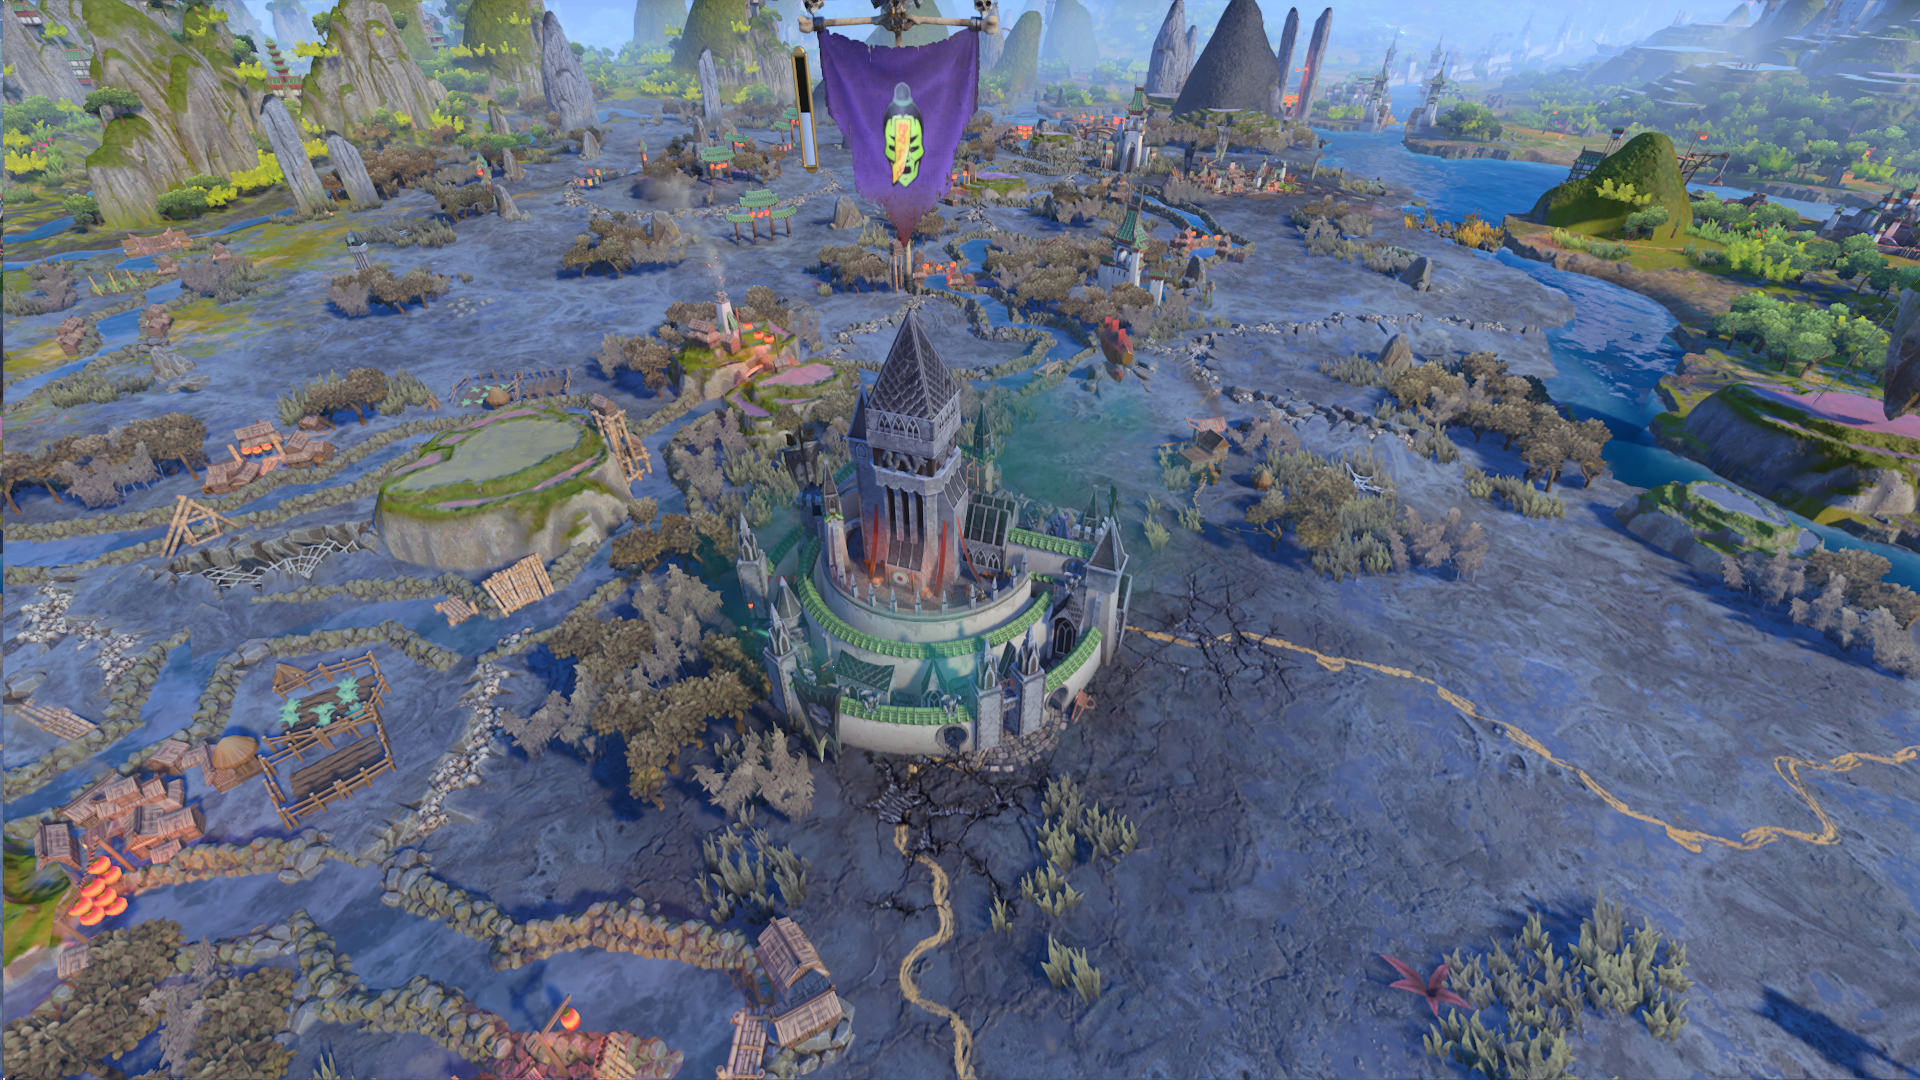
Tutorial:Custom Campaign Settlement Skins
Warhammer III guide by ChaosRobie
Before we begin
This guide explains how you can make custom settlement models for the campaign. It will guide you through Terry, the database setup, and some scripting.
You will need the Warhammer III Assembly Kit (download through Steam, under the Tools category) as well as Rusted Pack File Manager.
The campaign prefab
This first part is all about creating the .bmd files using Terry and BoB.
Assembly Kit folder set up
Create this folder: \assembly_kit\raw_data\art\prefabs\campaign\
Within the new folder create a file called rules.bob and inside put this:
[Prefab]
	<Files> = ...*.terry
	TargetPath = prefabs/campaign
	RootFolder = true
To be clear, the file should be at this directory: \assembly_kit\raw_data\art\prefabs\campaign\rules.bob
Terry set up
Open Terry. You can get to it by launching the Assembly Kit through steam and selecting Play Battle Map Editor: Terry. Or you can launch the .exe directly \assembly_kit\binaries\tweak.modder.x64.exe and then in the top-left Plugins and then Terry.
New campaign prefab project
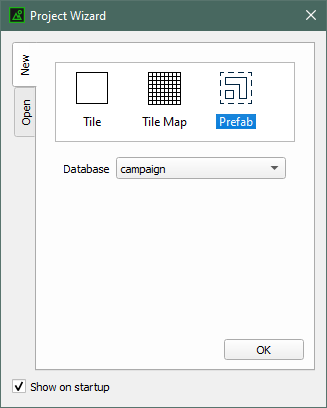
You will be greeted by the Project Wizard window. It should be on the New tab.
Click Prefab (the rightmost symbol, the dotted box one) and change the drop-down box so campaign is selected. Then Ok.
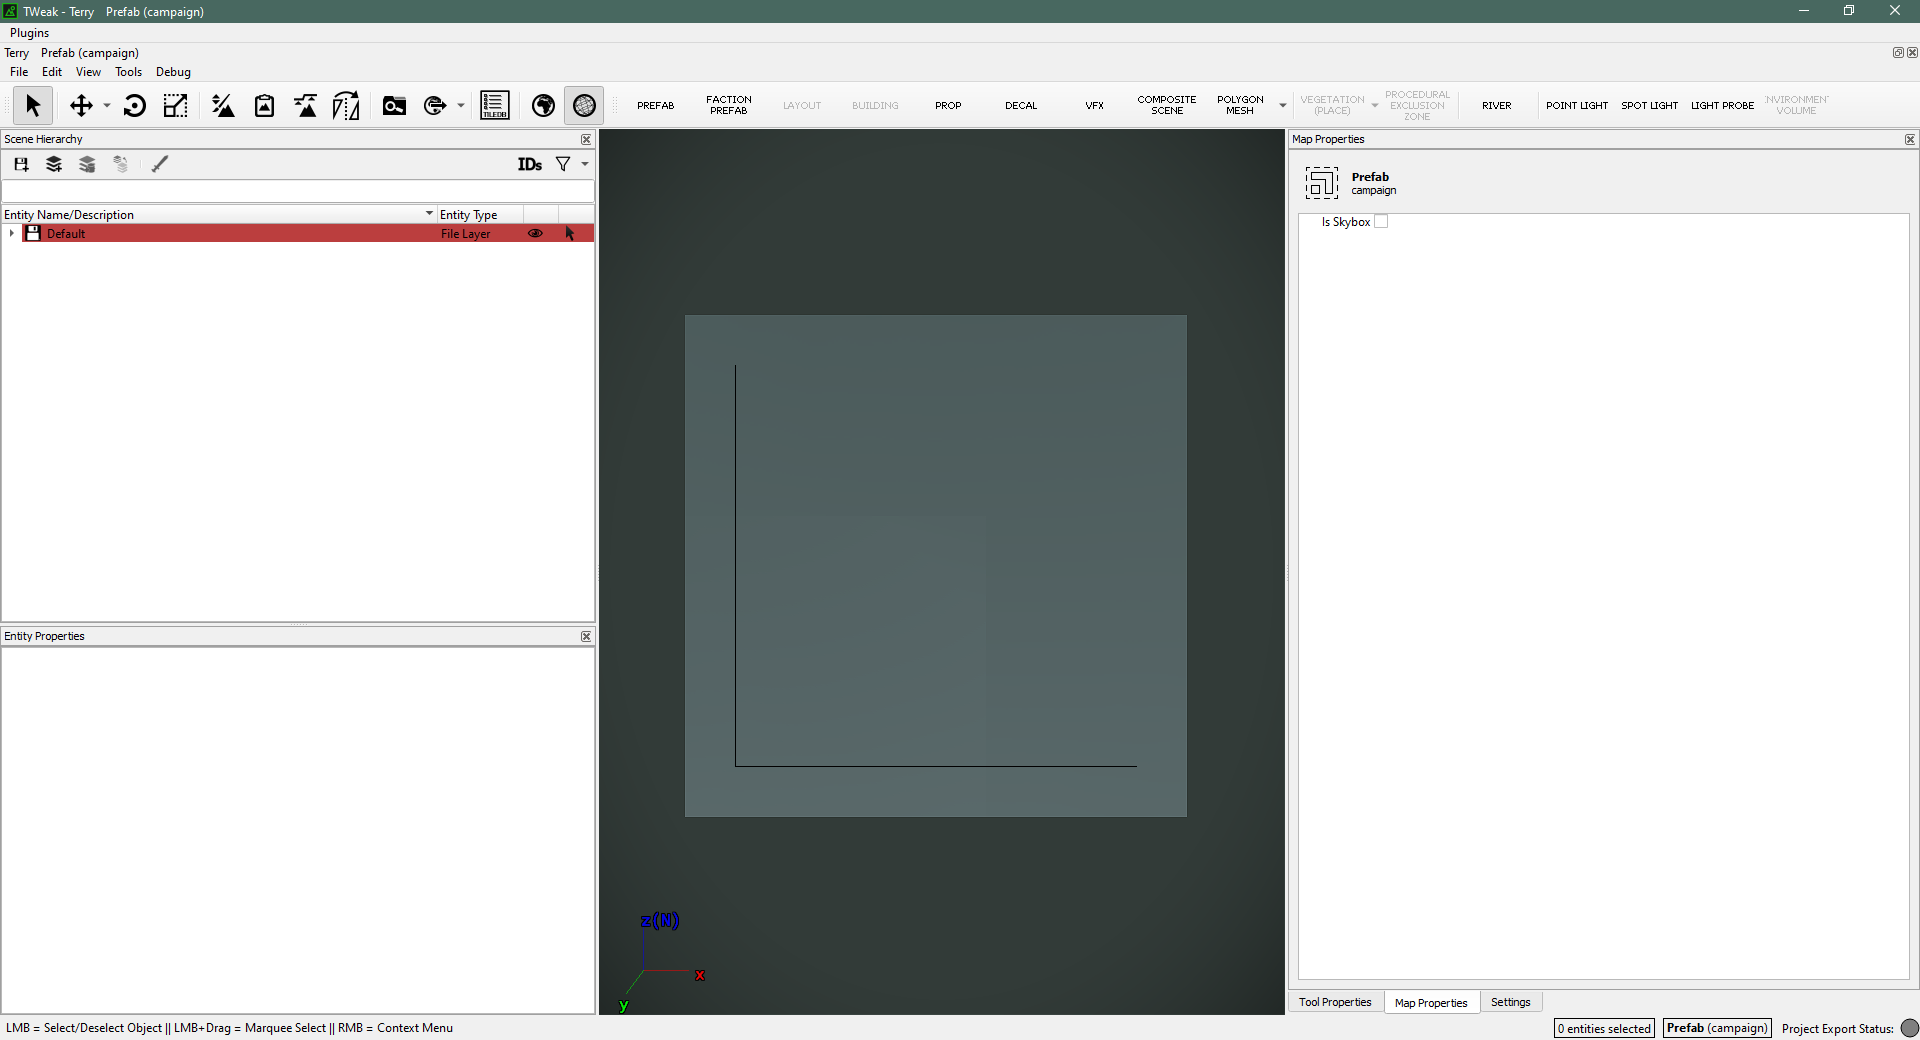
Your first view of the prefab-creating area will look at it from above and very zoomed out. Zoom in with the Scroll Wheel. Pan with Middle Mouse button. Rotate the camera view with Alt and Middle Mouse button.
Terry settings
The default prefab "map" will look like a spooky grey field with dark foreboding lighting. To make it much easier to see what you are doing, we will change some Terry settings.
Go to the Settings tab in the lower right.
Click the three dots on the Environment File row. It should open the \assembly_kit\working_data\Weather\ folder. Select default_campaign.environment.
Change Prefab Terrain Texture dropdown box to something else, like grass_dry0.
Things should look a lot more grassy and sunny with those two changes. Now click Set As Default For Project Type at the top of the Settings tab. That will ensure you don't have to redo these two things every time you create a new prefab project.
First save
You haven't actually saved your project yet. File, Save and save it in that folder you created earlier: \assembly_kit\raw_data\art\prefabs\campaign\.
Placing entities
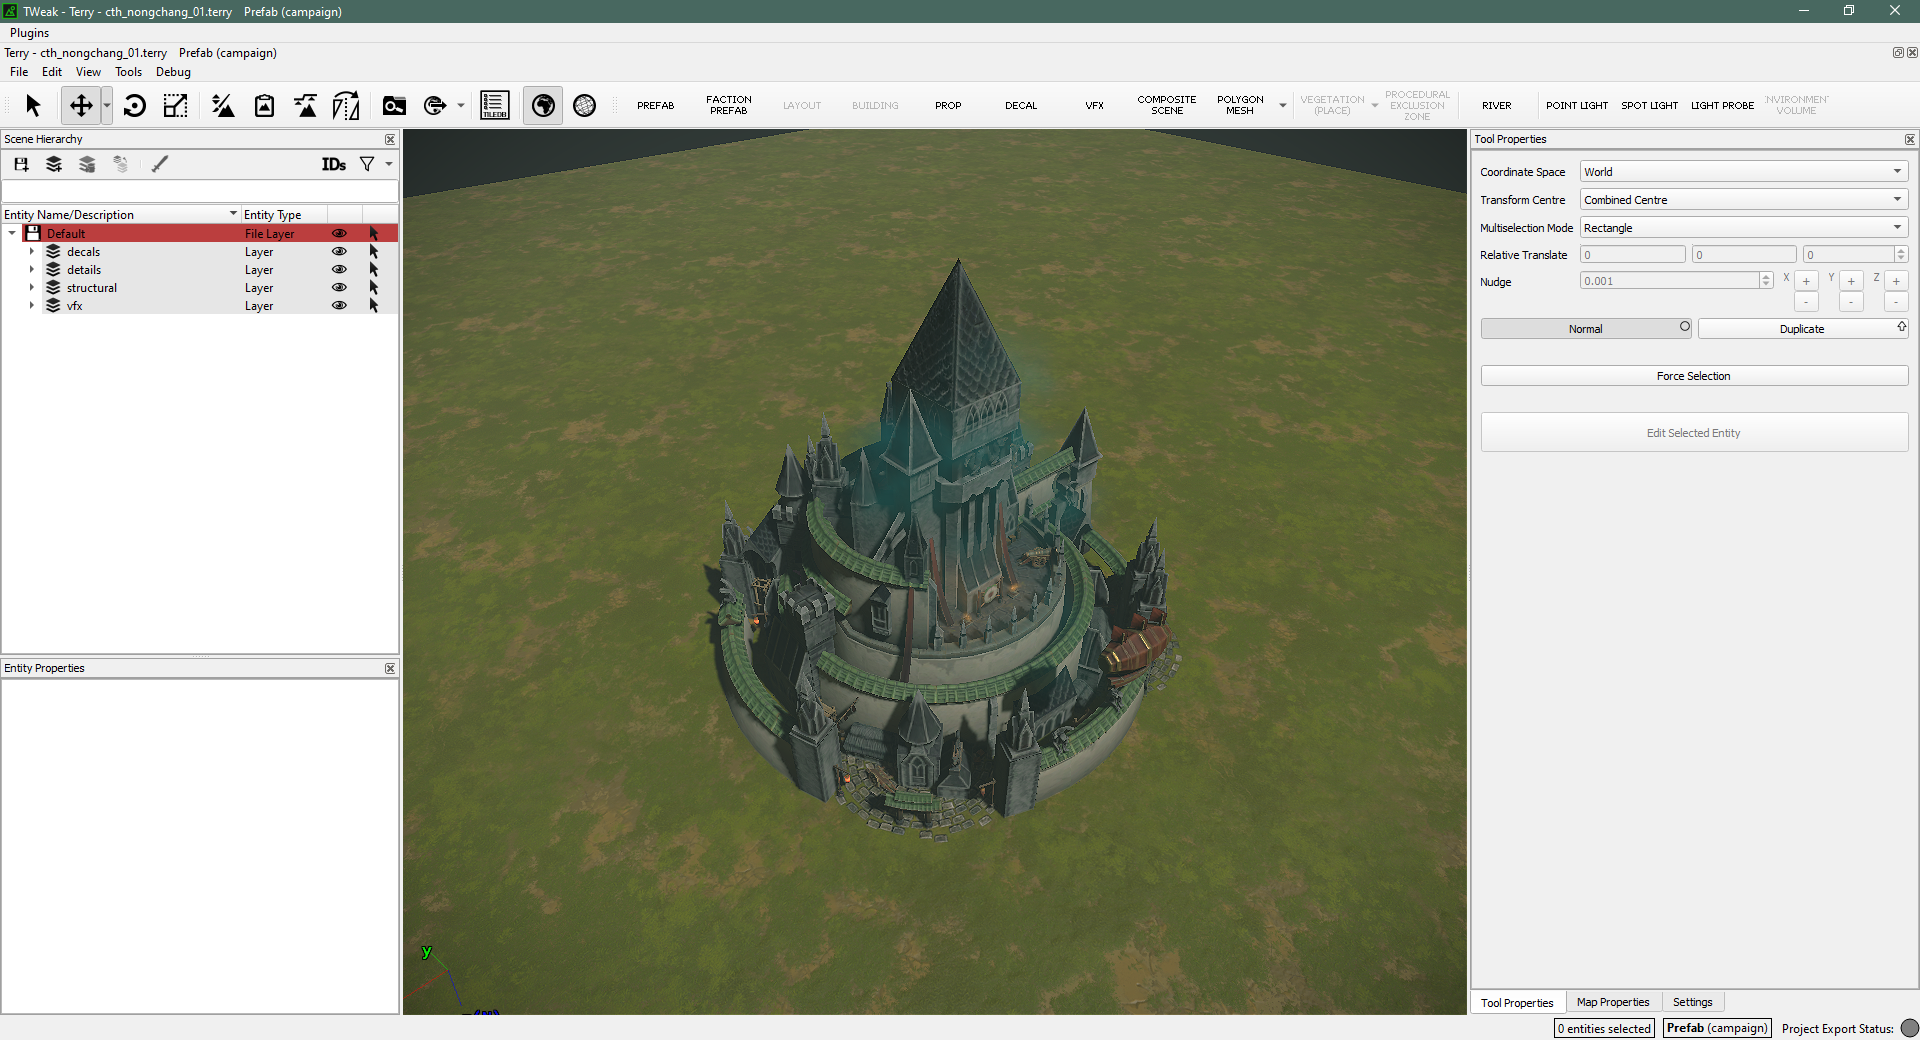
This is the part where you get creative. You will create your settlement by placing props, vfx, decals, and polygon meshes. Each has a menu you can access from the Entity Creation (Visual) bar. If the bar is hidden for whatever reason, you can also access the menus from Tools -> Entity Creation (Visual).
Props
Props are just meshes, .rigid_model_v2 and .wsmodel files. These are things like buildings, trees, and crates. Some props are animated.
VFX
Visual effects. Not every VFX listed in the menu will be appropriate for a campaign prefab. For instance, the ones used for some spells or arrow trails are only visible when in motion. The ones with "campaign" or "environment" in their names should be fine.
Decals
Decals are flat entities you can place on the ground or even on props.
Note that all decals are also listed in the props menu. But if you place a decal from there, Terry won't recognize it as a decal and you miss-out on some important settings, like limiting if the decal applies to objects or the terrain.
Polygon meshes
Shapes that you can freely draw into whatever you want and then apply a material to. The main uses are creating water planes and creating raised platforms that take-on the texture of the terrain below them, basically creating a fake mountain/plateau.
When you click the Polygon Mesh button, you will first need to place a grid which is basically just the shape's origin. Place it somewhere close to the world origin (0,0,0). Once you click, you will then start to click and place vertices to draw your shape. You complete the shape by clicking on the first vertex you placed.
The polygon mesh will be invisible when you complete it. Find it in the Entity list and give it a material.
For a water plane, there are a bunch you could use, search the box that pops up for "sea" or "water", but materials/environment/campaign/campaign_water_plane.xml.material is a good one.
For that fake mountain/plateau thing, use materials/utility/campaign_terrain_global_blend.xml.material, that one will show whatever the terrain texture is under the plane.
Placement guidelines
Place your entities around the 0,0,0 world origin. The best way to find this is to place a prop and then manually set it's coordinates (from the Entity Properties window, lowerleft) to 0,0,0. That will snap it to where the center of your settlement must be.
Settlements are roughly 2.5 meters in radius. Again, you can manually set the position of some reference props to visualize this boundary. The problems with making your settlement fatter or thinner than that rule of thumb are purely cosmetic. Remember that there is a ring of flags that is placed around an occupied settlement, and there are also sieges to consider.
For rotation, the blue arrow corresponding to the z direction is forwards/backwards. The main window will have a little axis on the bottom left that will show which way is "north". This "north" direction doesn't always correspond to the "north" direction when your settlement is placed on the campaign map. For instance, port-settlements will have their "north" pointing out to sea. I wouldn't worry too much about the rotation though, since you can always adjust the settlement's rotation from the campaign_map_settlements db table later.
A scale of "1" is good for most props, but a few would be pretty oversized/undersized at that scale. Campaign settlements are a caricature of the real thing, so I wouldn't worry too much about realistic scales or anything like that.
Finishing up with BOB
You don't need to run the BOB exe manually. Just click the Process with BOB button in Terry, it looks like a globe with a right-facing arrow. Wait a few seconds, you'll see some pop-ups in the lower right corner that'll tell you BOB's status.
This process will create this folder: \assembly_kit\working_data\prefabs\campaign\
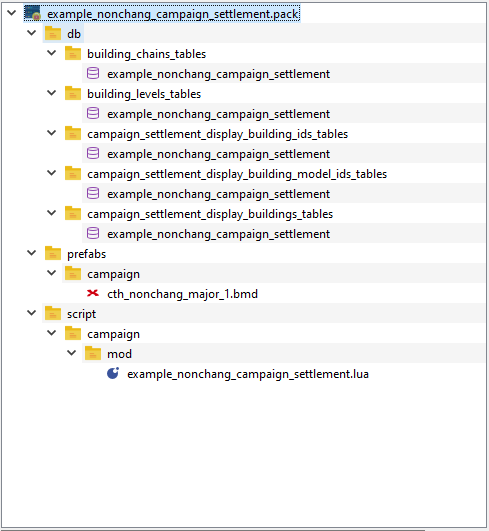
Go to that directory to find your exported .bmd file. Place the .bmd file(s) in your mod's .pack in this directory: prefabs/campaign/
The db and scripting
We will start with a brief explanation of the scripting, then do the database stuff, and then do the scripting for real. It will make more sense that way.
Motivation from scripting
Don't worry about writing the script itself yet, but know that to change a settlement's skin, you use this lua function (see the full documentation here).
cm:override_building_chain_display(
 	string vanilla_building_chain_key,
 	string override_building_chain_key,
 	[string region_key]
)
vanilla_building_chain_key corresponds to the building chain that is there when you start a new campaign, while override_building_chain_key is the building chain (only the display part of it) that will be swapped-in.
This means that our brand new settlement .bmd files that we just made in Terry need to be "connected" to a brand new building chain. This new building chain doesn't actually have to be used in-game, it simply has to exist in the db.
In the following example, I will be creating a special settlement building chain for Nonchang, but I won't actually be using it in any gameplay-related way. In-game, the settlement in that region will remain as the default Cathay major settlement. The new building chain will basically be a dummy that I am only using for it's visual display (which will be the .bmd files I created in Terry). But note that it doesn't have to be a dummy, you could set-up a "real" settlement building chain and use that. It all depends on what type of mod you are making. If you're just after the visual change, then a dummy building chain is fine.
Database stuff
Dummy building chain
The dummy building chain only needs these two tables:
building_chainsbuilding_levels
Copy-over some vanilla entries and change the keys to something else.
Make sure your building_chain has the same number of levels as the building_chain you will be overriding. In my example, Nonchang is a major settlement so it has five entries in the building_levels table and then one more for the ruined state, for a total of six. A minor settlement would have three plus one, four total.
If you instead decide to make a real building chain, then you'll need many more tables, including building_chain_availability_sets and building_effects_junction. Compiling a full list of the required tables is left as an exercise for the reader.
Campaign settlement display
This is the part where you connect your building_chain to the .bmd files you created earlier in Terry. These three are the minimum:
campaign_settlement_display_building_model_idscampaign_settlement_display_building_idscampaign_settlement_display_buildings
campaign_settlement_display_building_model_ids is just a list of "building model keys". Create some new ones, you'll want one for each of your new building chain's levels. You can skip the "ruin" building level.
campaign_settlement_display_building_ids connects the "building model keys" to the building levels of your building chain. There should be one row for each of your new building levels.
campaign_settlement_display_buildings is the main table. It defines which .bmd files are used for each "building model key". Again, you'll want one row for each of your building levels. Make sure you create a unique key for each row, mash on your number keys or use something like random.org. I won't go over all the columns in the table, but basically you can have different .bmd files for if the settlement is inland or a port, or if it has walls or not. And, of course, each of the rows in your table will correspond to a building level, so you can have different .bmd files as the settlement grows in size. Take a look at the vanilla table to get an idea of what's what.
Scripting for real
In your .pack, create a new lua file in: script/campaign/mod/
In my example I have script/campaign/mod/example_nonchang_campaign_settlement.lua
And put something like this in it:
--This code will run automatically when you load into a campaign
cm:add_first_tick_callback(
	function()
		--This code only needs to run once at the very start of a campaign
		if cm:is_new_game() then
			-- Check if it is Immortal Empires, since that's the only campaign with Nonchang
			if cm:get_campaign_name() == "main_warhammer" then
				--Override the display of the building chain "wh3_main_cth_settlement_major" with the new building chain "example_special_settlement_nonchang"
				--And only do this in Nonchang
				cm:override_building_chain_display("wh3_main_cth_settlement_major", "example_special_settlement_nonchang", "wh3_main_combi_region_nonchang")
			end
		end
	end
)
In this example, wh3_main_combi_region_nonchang corresponds to the region whose settlement I am changing. example_special_settlement_nonchang is the building chain I created. Look this up in the regions db table.
wh3_main_cth_settlement_major is the building chain that is there at the beginning of a vanilla campaign. If you are running into problems, like the settlement model refuses to change, then this part is likely the problem. Make sure you are putting in the correct building chain! Some settlements don't use a faction's default and have special settlement building chains.
The script will run at the beginning of a campaign and swap out the building chain displays. You will need to adjust the three strings I mention above to fit your mod.
Final words
That's it! Open up the game and check out your new settlement. I recommend using the Console Commands mod to make testing easy, use fow off to disable the fog of war.
Download the Nonchang mod here: File:Example nonchang campaign settlement.pack.
And get the Terry project used to create the mod here: File:Cth nongchang 01 terry project.zip
Bonus
Import vanilla .bmd into Terry
You can't directly load a vanilla prefab .bmd into Terry, but you can run a python script (this one) and convert the .bmd into a Terry .layer file. Place that new .layer file in the same directory as an already-created Terry project (.terry file). Then open the .terry file in a text editor and you'll see something like this:
<pc type="QTU::Scene">
	<data version="41">
		<entity id="188fd378e03f00b" name="Default">
			<ECFileLayer export="true" bmd_export_type=""/>
		</entity>
	</data>
</pc>
Adjust it, adding your new layer as a new "entity":
<pc type="QTU::Scene">
	<data version="41">
		<entity id="188fd378e03f00b" name="Default">
			<ECFileLayer export="true" bmd_export_type=""/>
		</entity>
		<entity id="the_id_string_that_is_in_the_.layer_name" name="new_layer">
			<ECFileLayer export="true" bmd_export_type=""/>
		</entity>
	</data>
</pc>
Warhammer II guide by Maruka
Before we begin
This guide explains how you can make custom settlement skins for the campaign. This is not officially supported by CA, so the process is a little bit awkward. It might look complicated at first, but that’s mostly because I’ve tried to be as thorough as possible in the explanation. If you have any questions you can ask them in the Map Makers discord channel, which you can find here.
You will need Rusted Pack File Manager for this.
Before we begin, make a folder -somewhere- on your computer called ‘campaign’, in a folder called ‘prefabs’. The location of this folder does not matter, as long as you can find it again.
Preparation in Terry
Create a new map in Terry.
If you’d like your settlement to change with each level, you’ll need to create five layers and make each version in one layer, as you can see in the layer panel in the pictures in section 2.
Before we continue, make five layers (name them 01-05 or something along those lines), and save your map.
Now go to the raw terry files in
Total War WARHAMMER II\assembly_kit\raw_data\terrain\tiles\battle\_assembly_kit\(yourmap)
and open the .terry file of the map, and look for the ECFileLayer.
Change <ECFileLayer export="true" bmd_export_type=""/> to ECFileLayer = export="true" bmd_export_type="catchment_01"/>
Do this for all five layers.
Save the file, re-open terry & reopen the map. The layers should now have ‘catchment – 01’ or equivalent after their name, as you can see in the pictures in section 2.
Making the settlement in Terry
Build your settlement around the origin of the map 0,0,0. Standard CA settlements cover an area of roughly 4×4 units. You can make it larger than that (as we did for the faction capitals), but armies will stand in the settlement skin if you do that.
Each layer will need to contain a copy of the previous levels.
Kislev at level 1:
Kislev at level 5
Exporting the prefab
Save, and then export the map.
The description, author, and max players don’t matter. You can close Terry now.
Go to the working data folder and find the exported files, the path is:
Total War WARHAMMER II\working_data_terrain\tiles\batle\_assembly_kit\[yourmap]
(replace [yourmap] with the key of your map)
Copy the catchment_01_layer_bmd_data.bin (and 02-05), and paste it into the ‘campaign’ folder which you made earlier.
Rename catchment_01_layer_bmd_data.bin to [nameofyourprefab].bmd. In the case of Kislev that was gccm_kislev_emp_1.bmd.
That means that we’re changing the extension of the file from BIN to BMD. Your computer might ask you if you’re sure that you want to change the extension. You are sure, so go ahead and change it.
These are the actual prefabs as they show up ingame.
I’ll add more information later if people have questions, for now you can just download GCCM: Unique Faction Capitals and open that in RPFM to see what I did to replace the prefabs.
